Lazada is currently one of the top online marketplaces in the Philippines, with millions of users browsing and buying products everyday.
This is a great opportunity to start your online business, as more and more people are choosing to buy online for both safety and convenience. Best of all, signing up for a Lazada seller account is free!
Here are the requirements for a Lazada Seller account:
- Philippine ID (SSS/Driver’s License/Passport)
- Cellphone Number
- Email Address
- Bank Account
- (Optional) DTI & BIR Business Registration
There are currently three main categories for Lazada Seller accounts:
- LazMall – For brand owners and official distributors
- Delivered by Seller – For sellers with own courier service (e.g. fresh/frozen goods or bulky items)
- Marketplace – For all regular sellers (individual or corporate)
Ready to sign up? Go to this site and follow along with me: https://sellercenter.lazada.com.ph/apps/register/index
The sign-up process is pretty intuitive, here’s what you should see on the link:

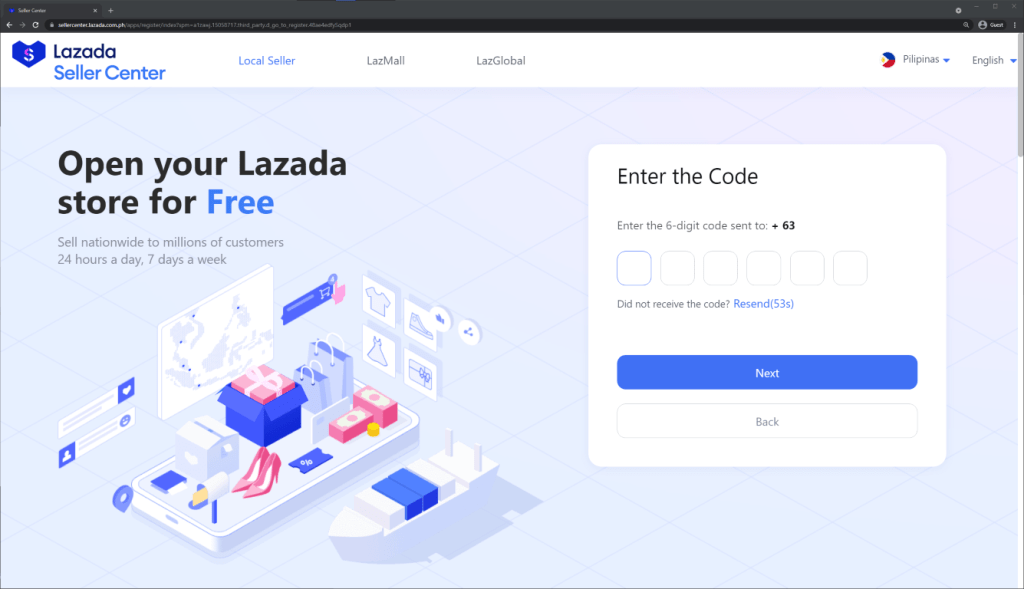
Input your phone number on the field on the upper right area, then Lazada will send an OTP (one time password) to the used mobile number for verification. Just type it in on the next page:
Next, you will be asked to fill up your email and password. There is also an option to select between Individual and Corporate, this pertains to your account type. Corporate is for BIR registered businesses, while Individual are for others that may just want to try out selling on Lazada.

Now you can log in to Lazada Seller Center, nice! The next step is to set your warehouse address. Just click the third step on the banner:
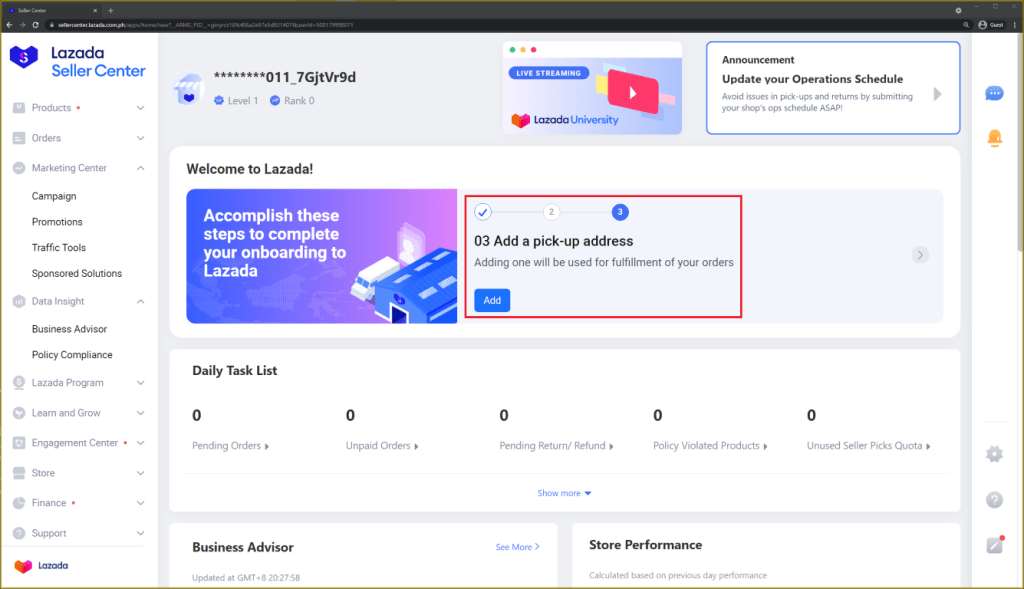
This address is where the items will be picked up when a customer places an order on your store (note that for new sellers, you will have to drop off the orders). There are also options to select a different return/business address if needed:

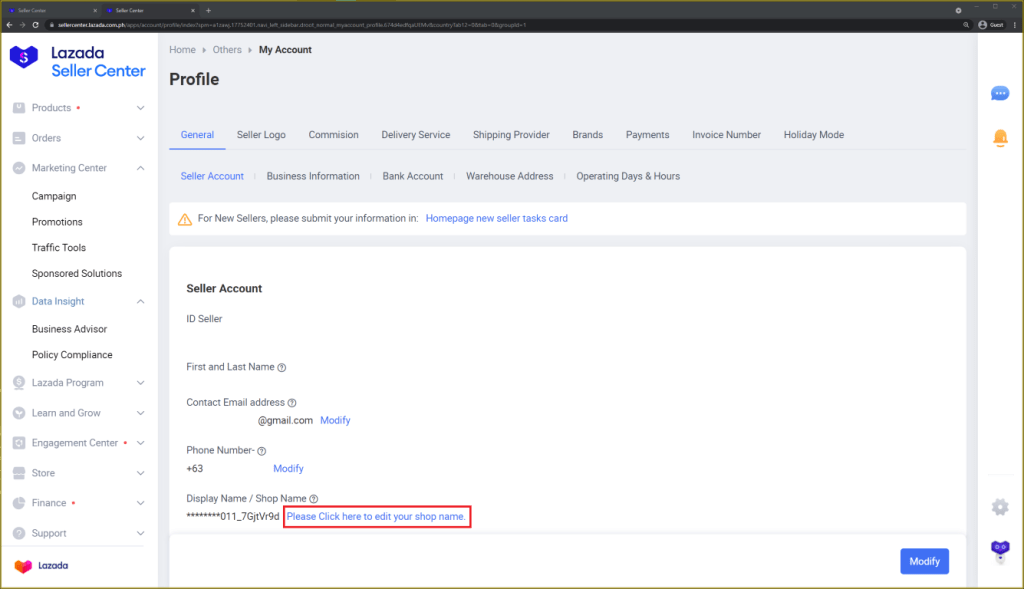
After confirming your address, the next step is to update your store name. Just go to My Account > Profile on the left menu:

On the lower part of the screen you should see an option to modify the store name:
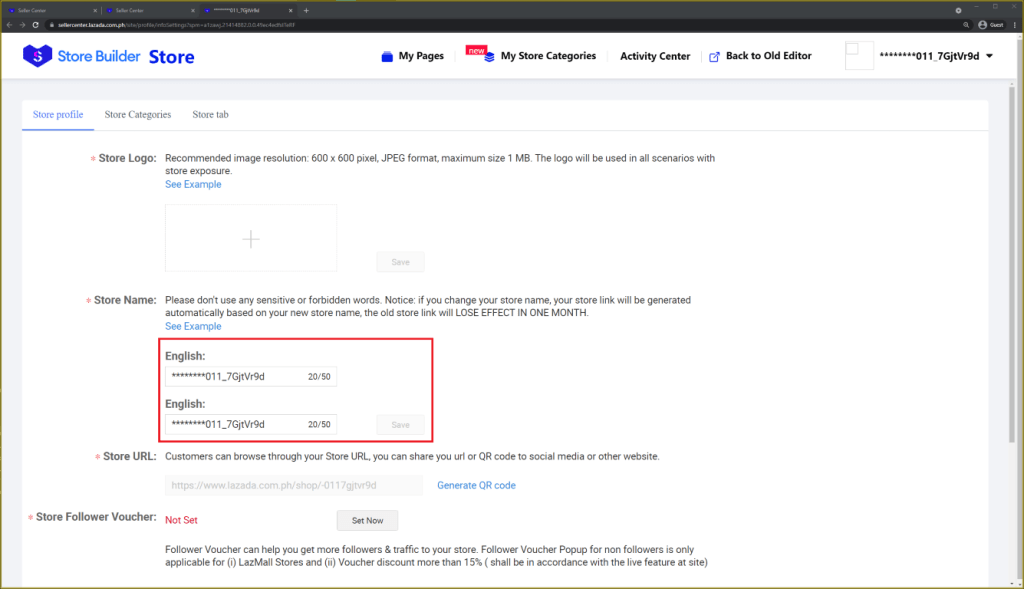
Clicking this will open a new tab, and here you will be able to update your store name and also upload your store logo if it is available:
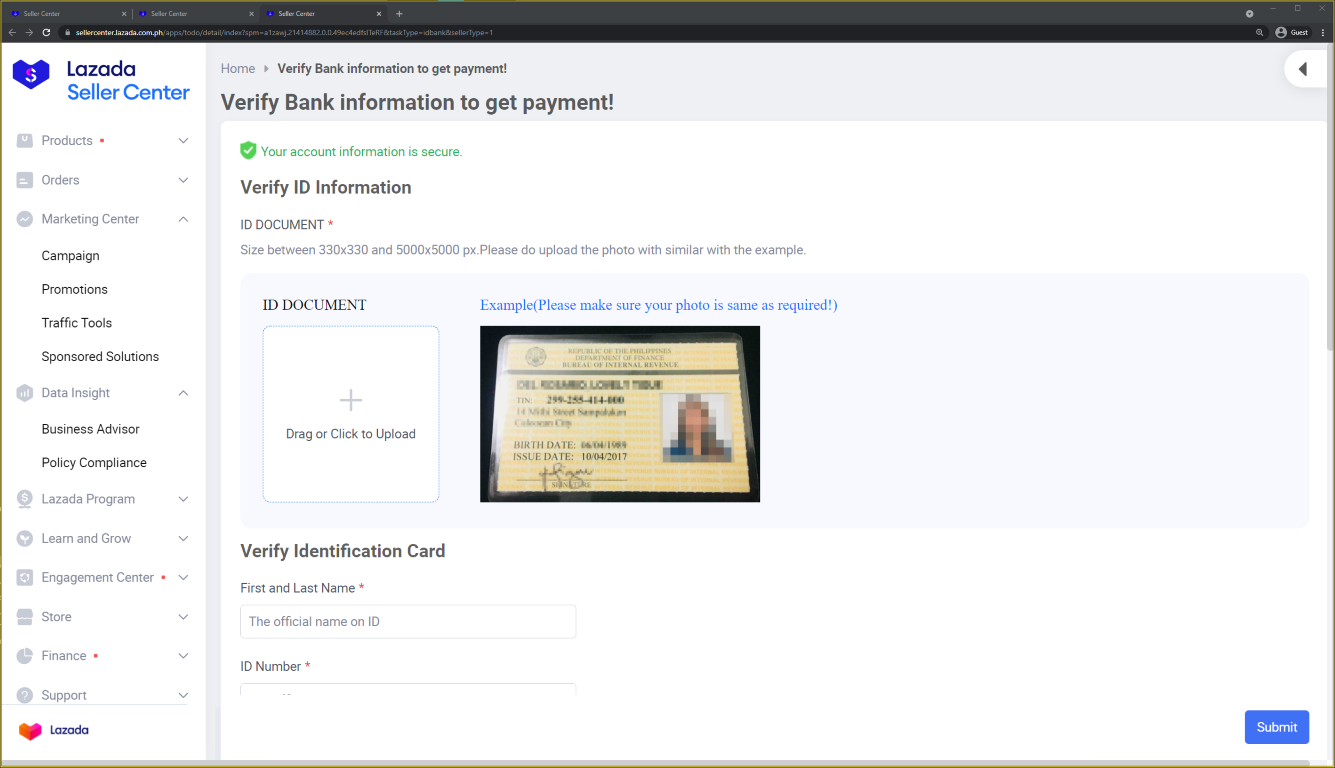
Save those settings, close the tab, and we can proceed to our last step! We just need to verify our identity and connect our bank account to receive the payouts. On the same Profile settings page, just click on the banner for new sellers:

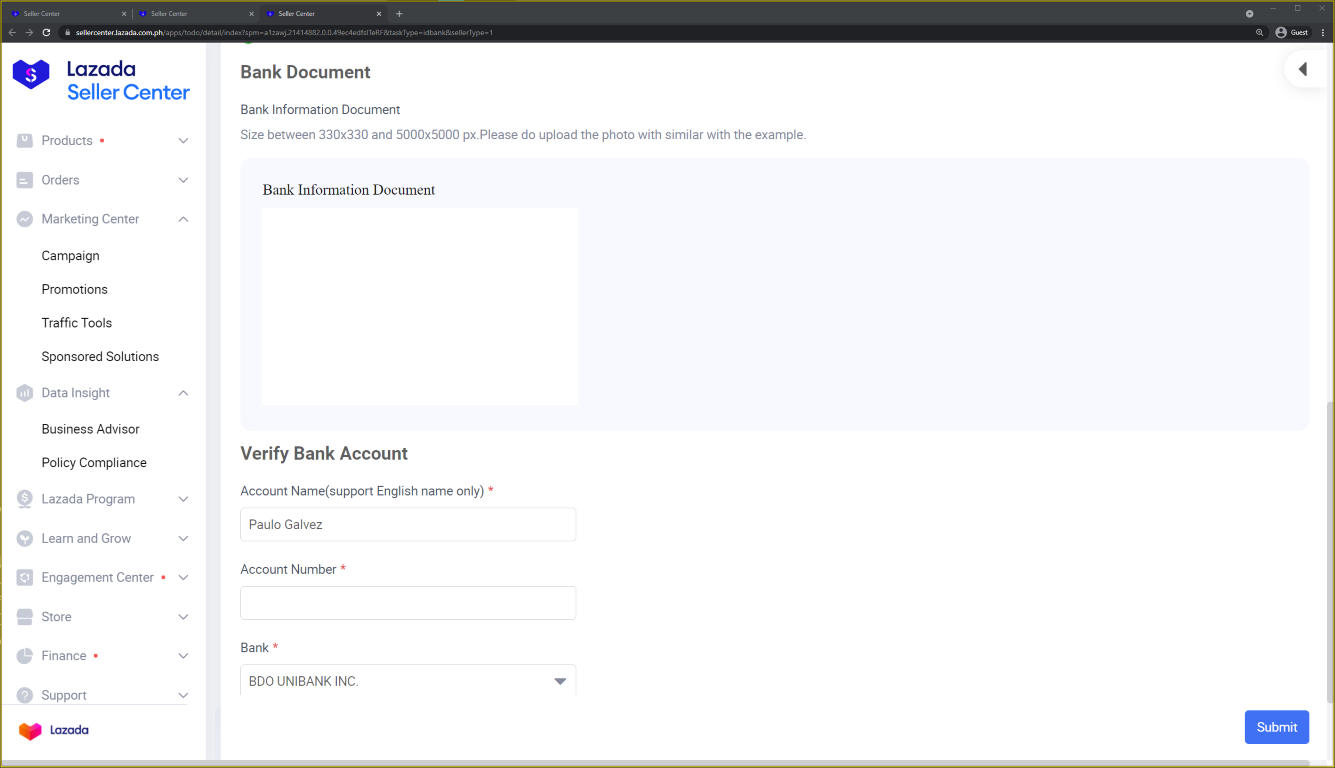
Upload your ID photo and input your ID details, then scroll down for the bank details.
For individual sellers, you can use the same ID photo if the bank account is in your name, while Corporate sellers will need to upload their bank statement or any other document that will verify the bank account using the company name:
Just click submit and that’s it, your Lazada Seller account is set! As promised, here are 3 bonus tips if you plan to create a Lazada Seller account:
- If you have the necessary documents to sign up as a LazMall seller (Trademark Certificates/Brand Authorization Letters/BIR Registration), I would highly encourage you to do so as LazMall sellers get better support from Lazada, and receive higher visibility within the website and app. Otherwise, signing up as a Marketplace seller is perfectly fine!
- For existing business owners with BIR registration, it is ideal to start your account right away as a Corporate Seller. This way, you won’t have to be registered under Lazada’s Microseller Cooperative, which charges an additional 1% from your total revenue (more details soon!).
- From my experience, Unionbank is the best bank to connect with your Lazada Seller account, as you would be able to receive your weekly payouts much earlier (2-4 days earlier compared to other banks).
Here’s my Youtube Video explaining these in detail:
If you have any questions regarding this topic, feel free to leave a comment below. Happy selling!

One thought on “How to Create a Lazada Seller Account (+3 helpful tips!)”